
Ross Barrett
Ross Barrett is a project architect with HLM architects working Passivhaus designs for Scotland's Housing Expo. Here he shares an ongoing diary of the construction process.
Timber Frame...Complete!
May 18th, 2010It seems winter in Inverness might just be over and work on our Passive House is gathering pace.
The Spring snow did eventually clear and allow our groundworks team to complete the last of the substructure works. With the underground drainage now in place and a local Building Control inspection complete, the 200mm of under slab insulation was laid and the stepped concrete slabs poured.
In line with our wall and roof constructions, we made sure that our ground floor build up achieved a U-Value of 0.1W/m2K and chose to specify that the 150mm ground bearing concrete slab had a power floated finish. A good smooth finish to the slab edge is key to allow us a good adhesion for our perimeter air seal tape, which will eventually give an air tight joint between our timber frame and ground floor slab. The weather of course still managed to hamper the laying of the slab and the contractor didn’t have the full opportunity to give the slab the finish so we will now need to put a thin layer of screed on top to get the smooth finish needed.
We also put in place a small run of duct from the rear garden of each unit which will eventually carry an insulated pipe from a small Air Source Heat Pump (ASHP). This will help deal with our domestic hot water (DHW) demand within the stringent energy parameters of the Passive House approach. The ASHP will also supply a small heating back up in the form of a wet heated towel rail system in the bathrooms although from our calculations and simulations it is unlikely this will be required to meet any of the primary heating demand. With the number of slab penetrations, we are constantly mindful that each of the penetrations need to be carefully sealed to maintain the high levels of air tightness we are aiming for.
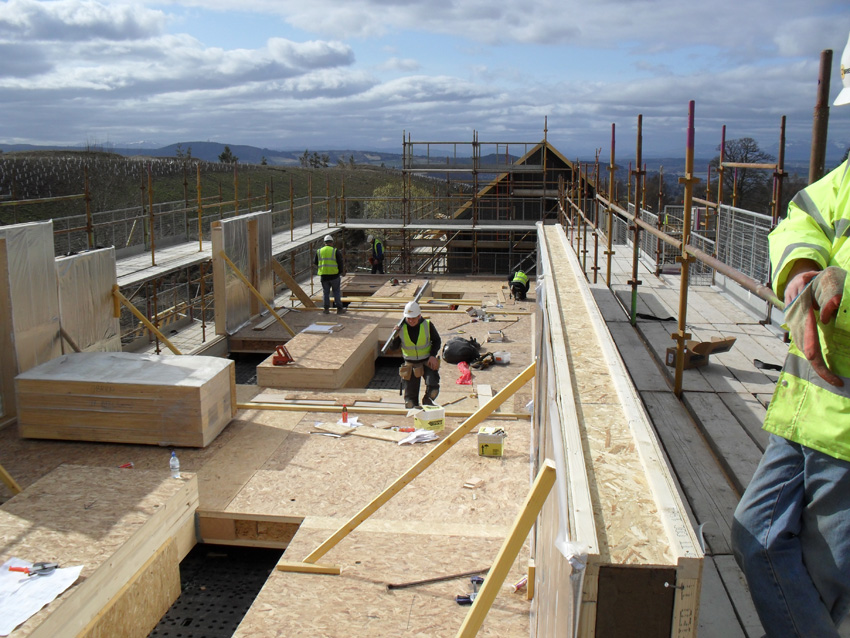
After a short period of the slab curing, the passive wall plates were fixed in place over the Damp Proof Course on top of our aerated concrete block. The O’Brien’s team began to erect the timber panels from the top of the site downwards, with the ground floor panels of each unit lifted into place first followed by the Glulam beam elements, the load bearing spine wall and the 300mm deep first floor cassettes.
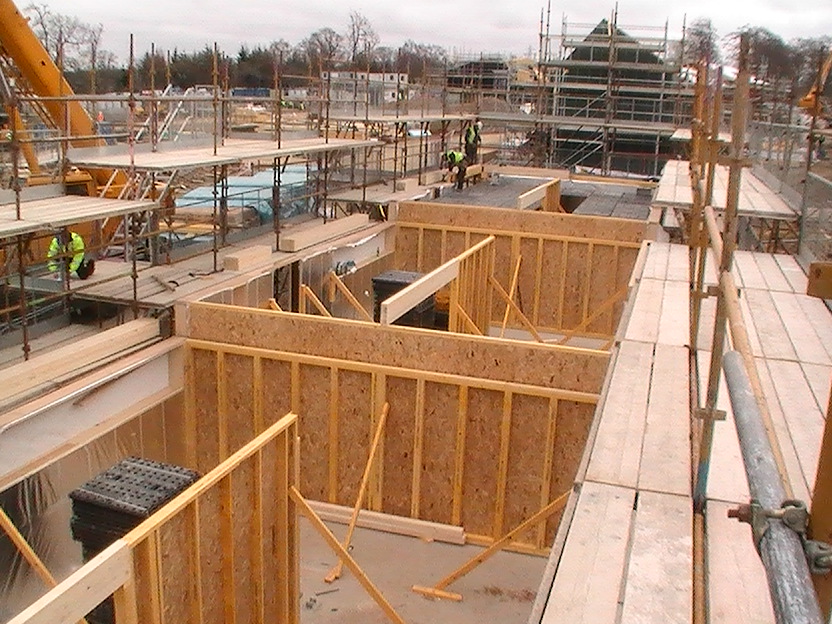
Ground Floor Panels in Place
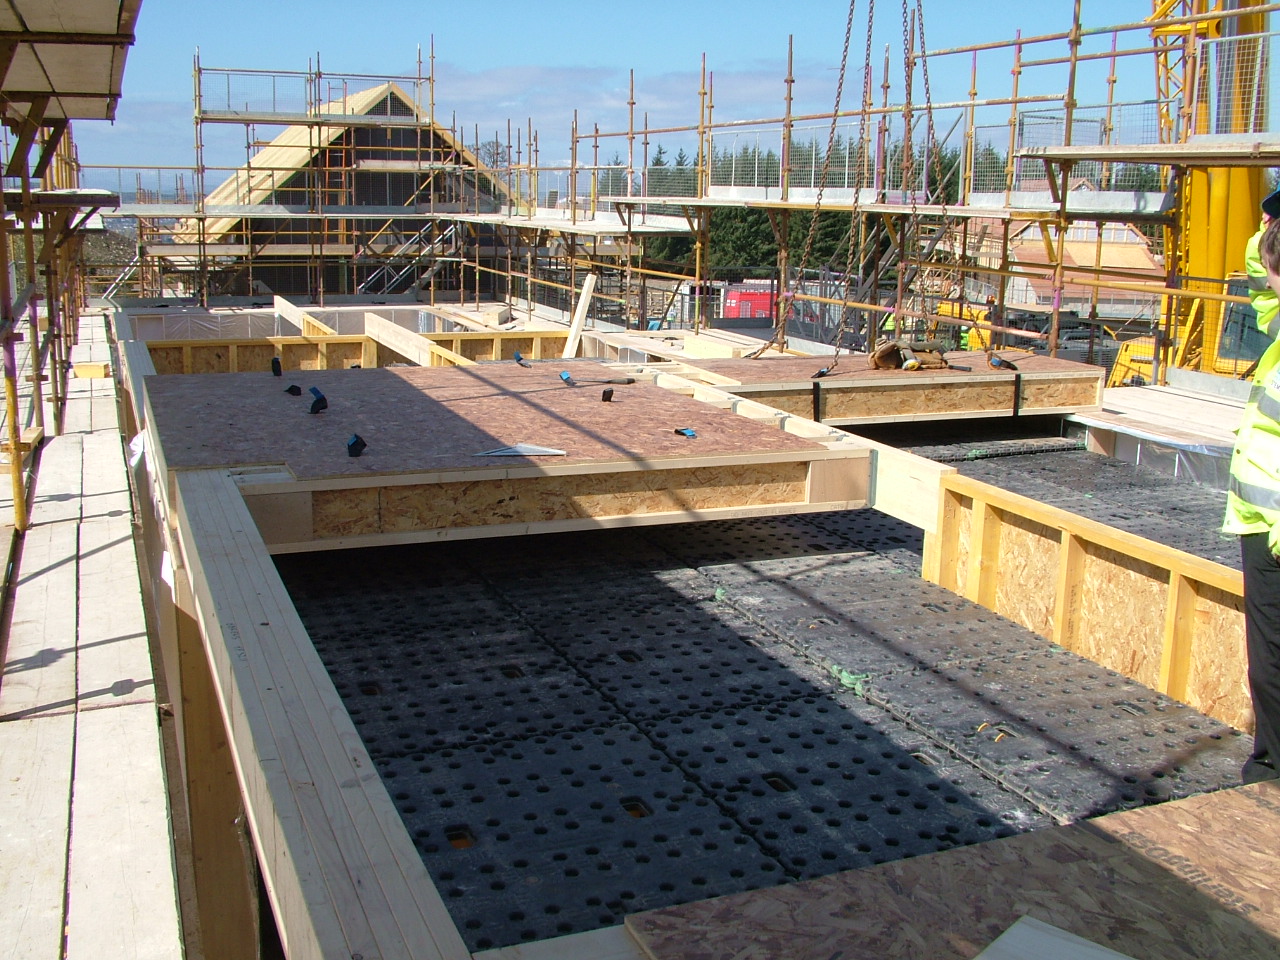
The first floor cassettes were orientated to allow for the main 100/125mm diameter duct runs within the floor build ups. They were a key element of the build and were potentially the most time consuming in the timber frame programme. Our Timber Frame Supplier RTC suggested that these may have been the trickiest floor cassettes they have designed and manufactured in the passive wall system but the ease with which they slotted together was a testament to the design team collaboration and the minimal tolerances that RTC manufactured to.
I recall an early design team meeting at Internorm in Dalgety Bay where we asked Alastair at RTC just what tolerances we should be designing to for the timber frame elements. It was met with the response….”we don’t like tolerances…we like to get it spot on!”
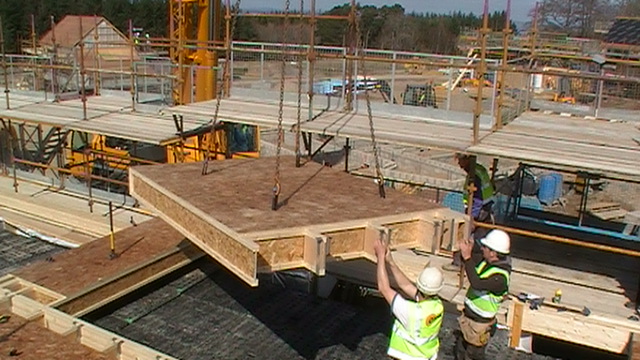
First Floor Cassettes being craned in
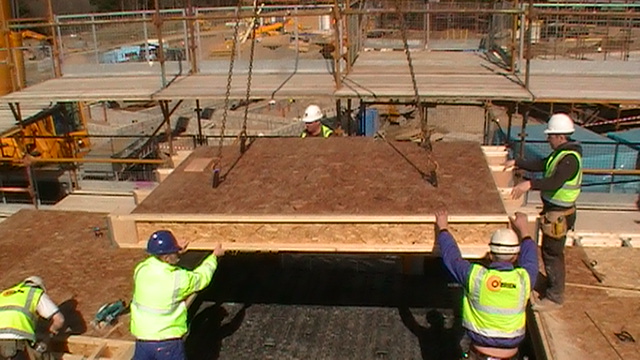
First Floor Cassettes being dropped into place
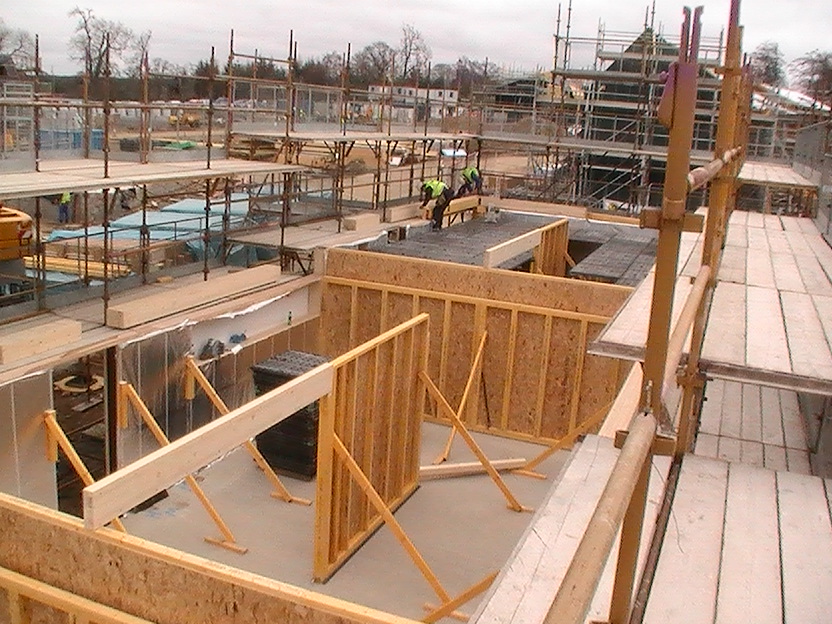
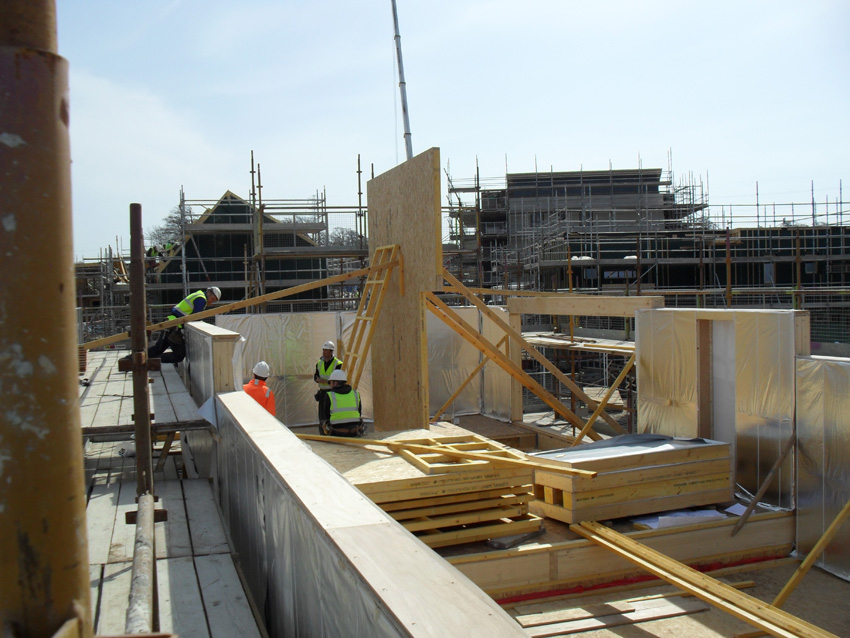
First Floor Wall Panels in place
The first floor wall panels were then erected on top of the first floor cassettes, followed by the loft floor Glulam beams and loft floor panels which were similar in design and layout to the first floor panels. The roof panels were the last of the timber frame delivery but slotted in fairly well and fairly quickly, with the whole timber frame erection sequence for the three units taking only nine days.
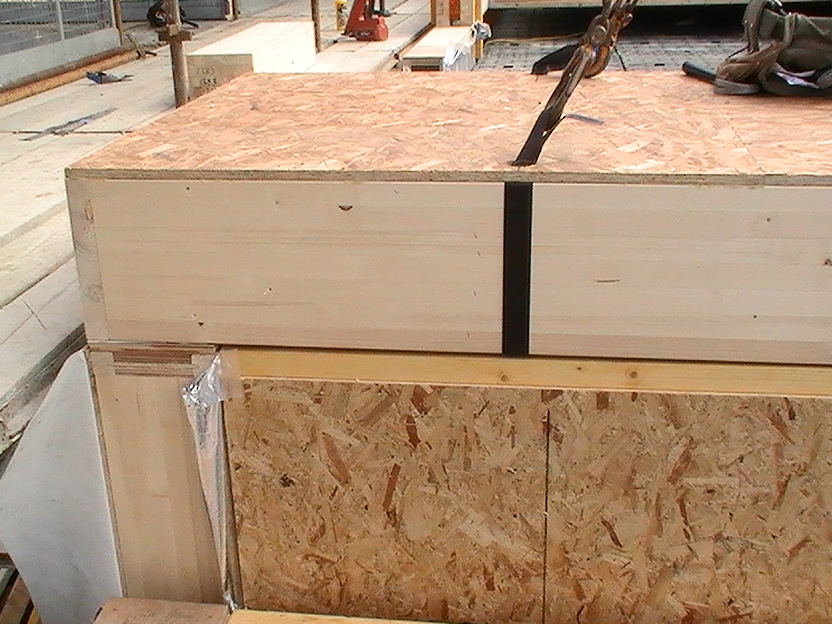
Interlocking Detail Between Wall and Floor Cassette
Load Bearing Spine Wall in Place
Loft Floor Cassette Panels in Place
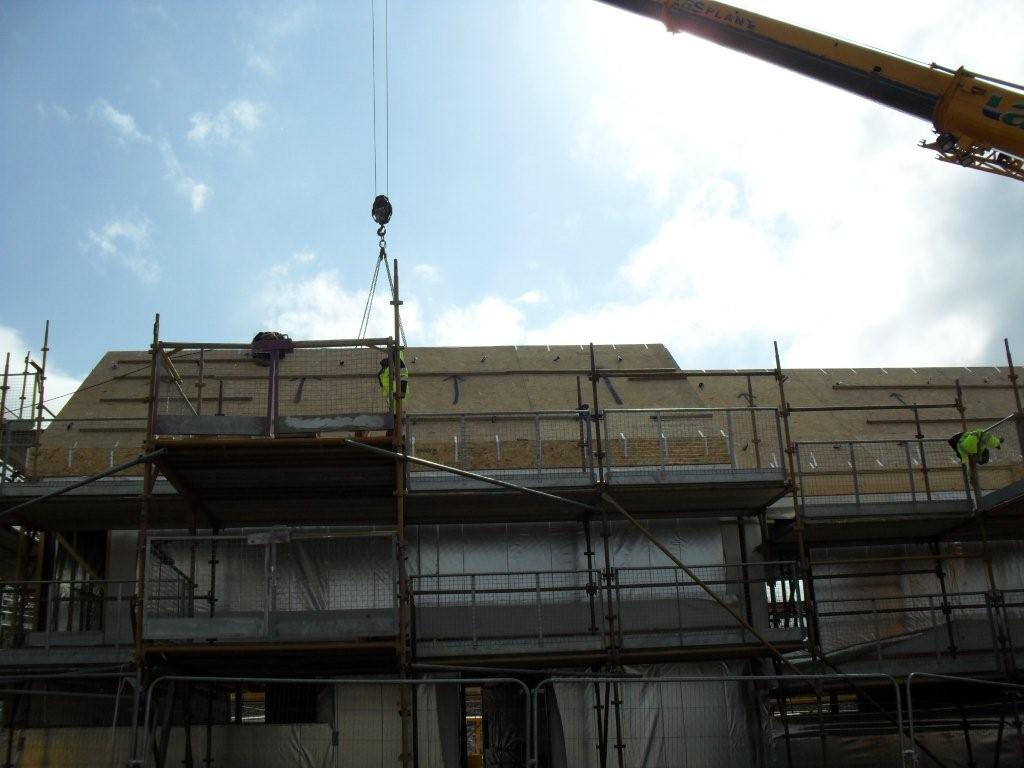
The Final Roof Cassettes Being Craned in
Next in place were our Fakro triple glazed rooflights which achieve a u-value of 0.9W/m2K and were the best thermally performing rooflights we could get our hands on.
Although the Passive House team at SPHC advised us against the use of rooflights as it’s not the norm for Passive House construction in Germany, we believed it was important for us to stick to the original concept of the top lit double height living space.
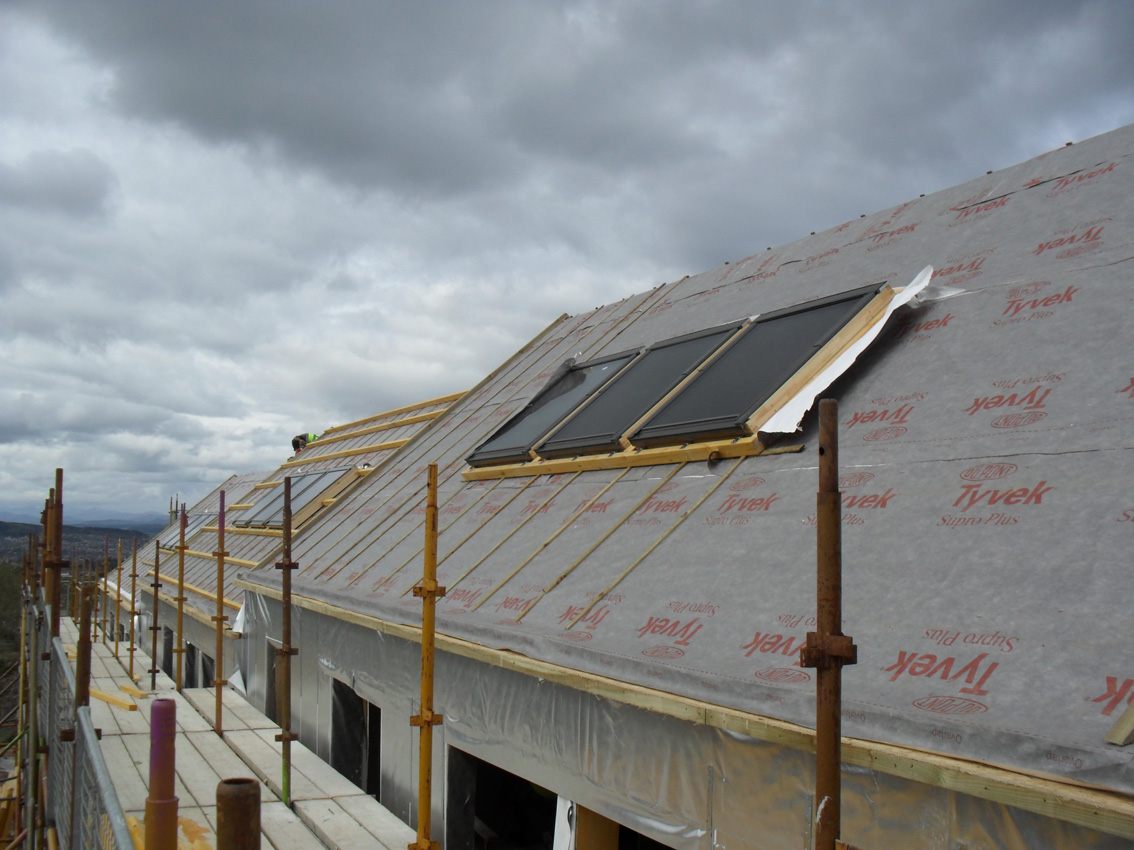
Roof and Wall Panels Wrapped in a Breather Membrane and Rooflights in Place
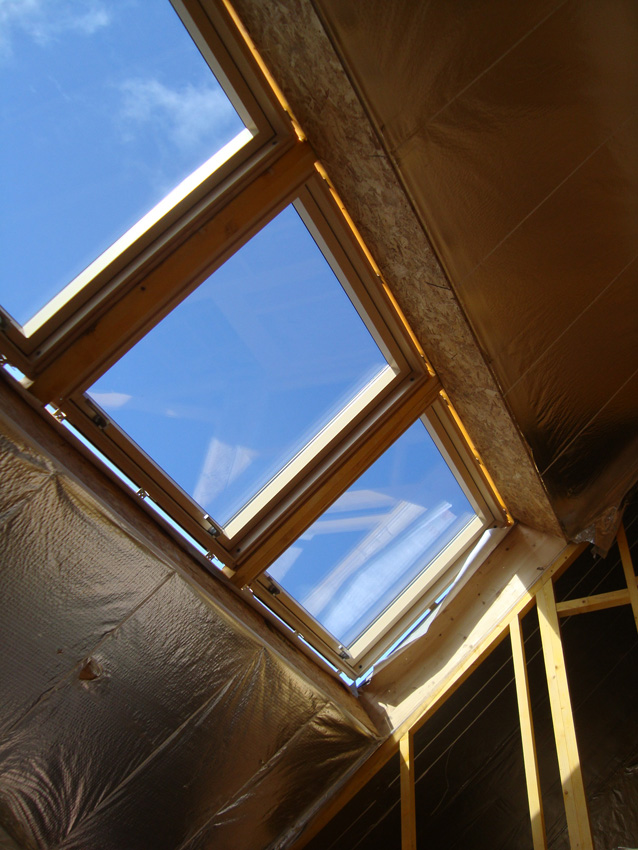
Rooflights from Inside – Additional Insulation and Airtight Seal still to be fixed in place
Our very first go at reviewing the scheme with the Passive House Planning Package (PHPP) software did show that the rooflights might cause us some problems with compliance due to the heat loss through them.
However, with some small adjustments to the external building fabric in order to increase the envelope U-Values the PHPP software showed that the incremental increase in insulation would allow us to achieve compliance with the roof lights remaining in place. Much like the other glazed elements we had to look carefully at the air seal and thermal bridging details at the roof light but by using an insulated kerb detail and using a similar air seal tape to the windows and timber frame joints we should successfully achieve the correct levels of air tightness with limited thermal bridging.
Stranded for two weeks in the Canary islands thanks to Iceland’s ash cloud, it seems all has gone well in my absence and progress has been swift. The intention now is to make a start on the timber cladding and roof sheeting ready for the arrival of the windows in early June.
